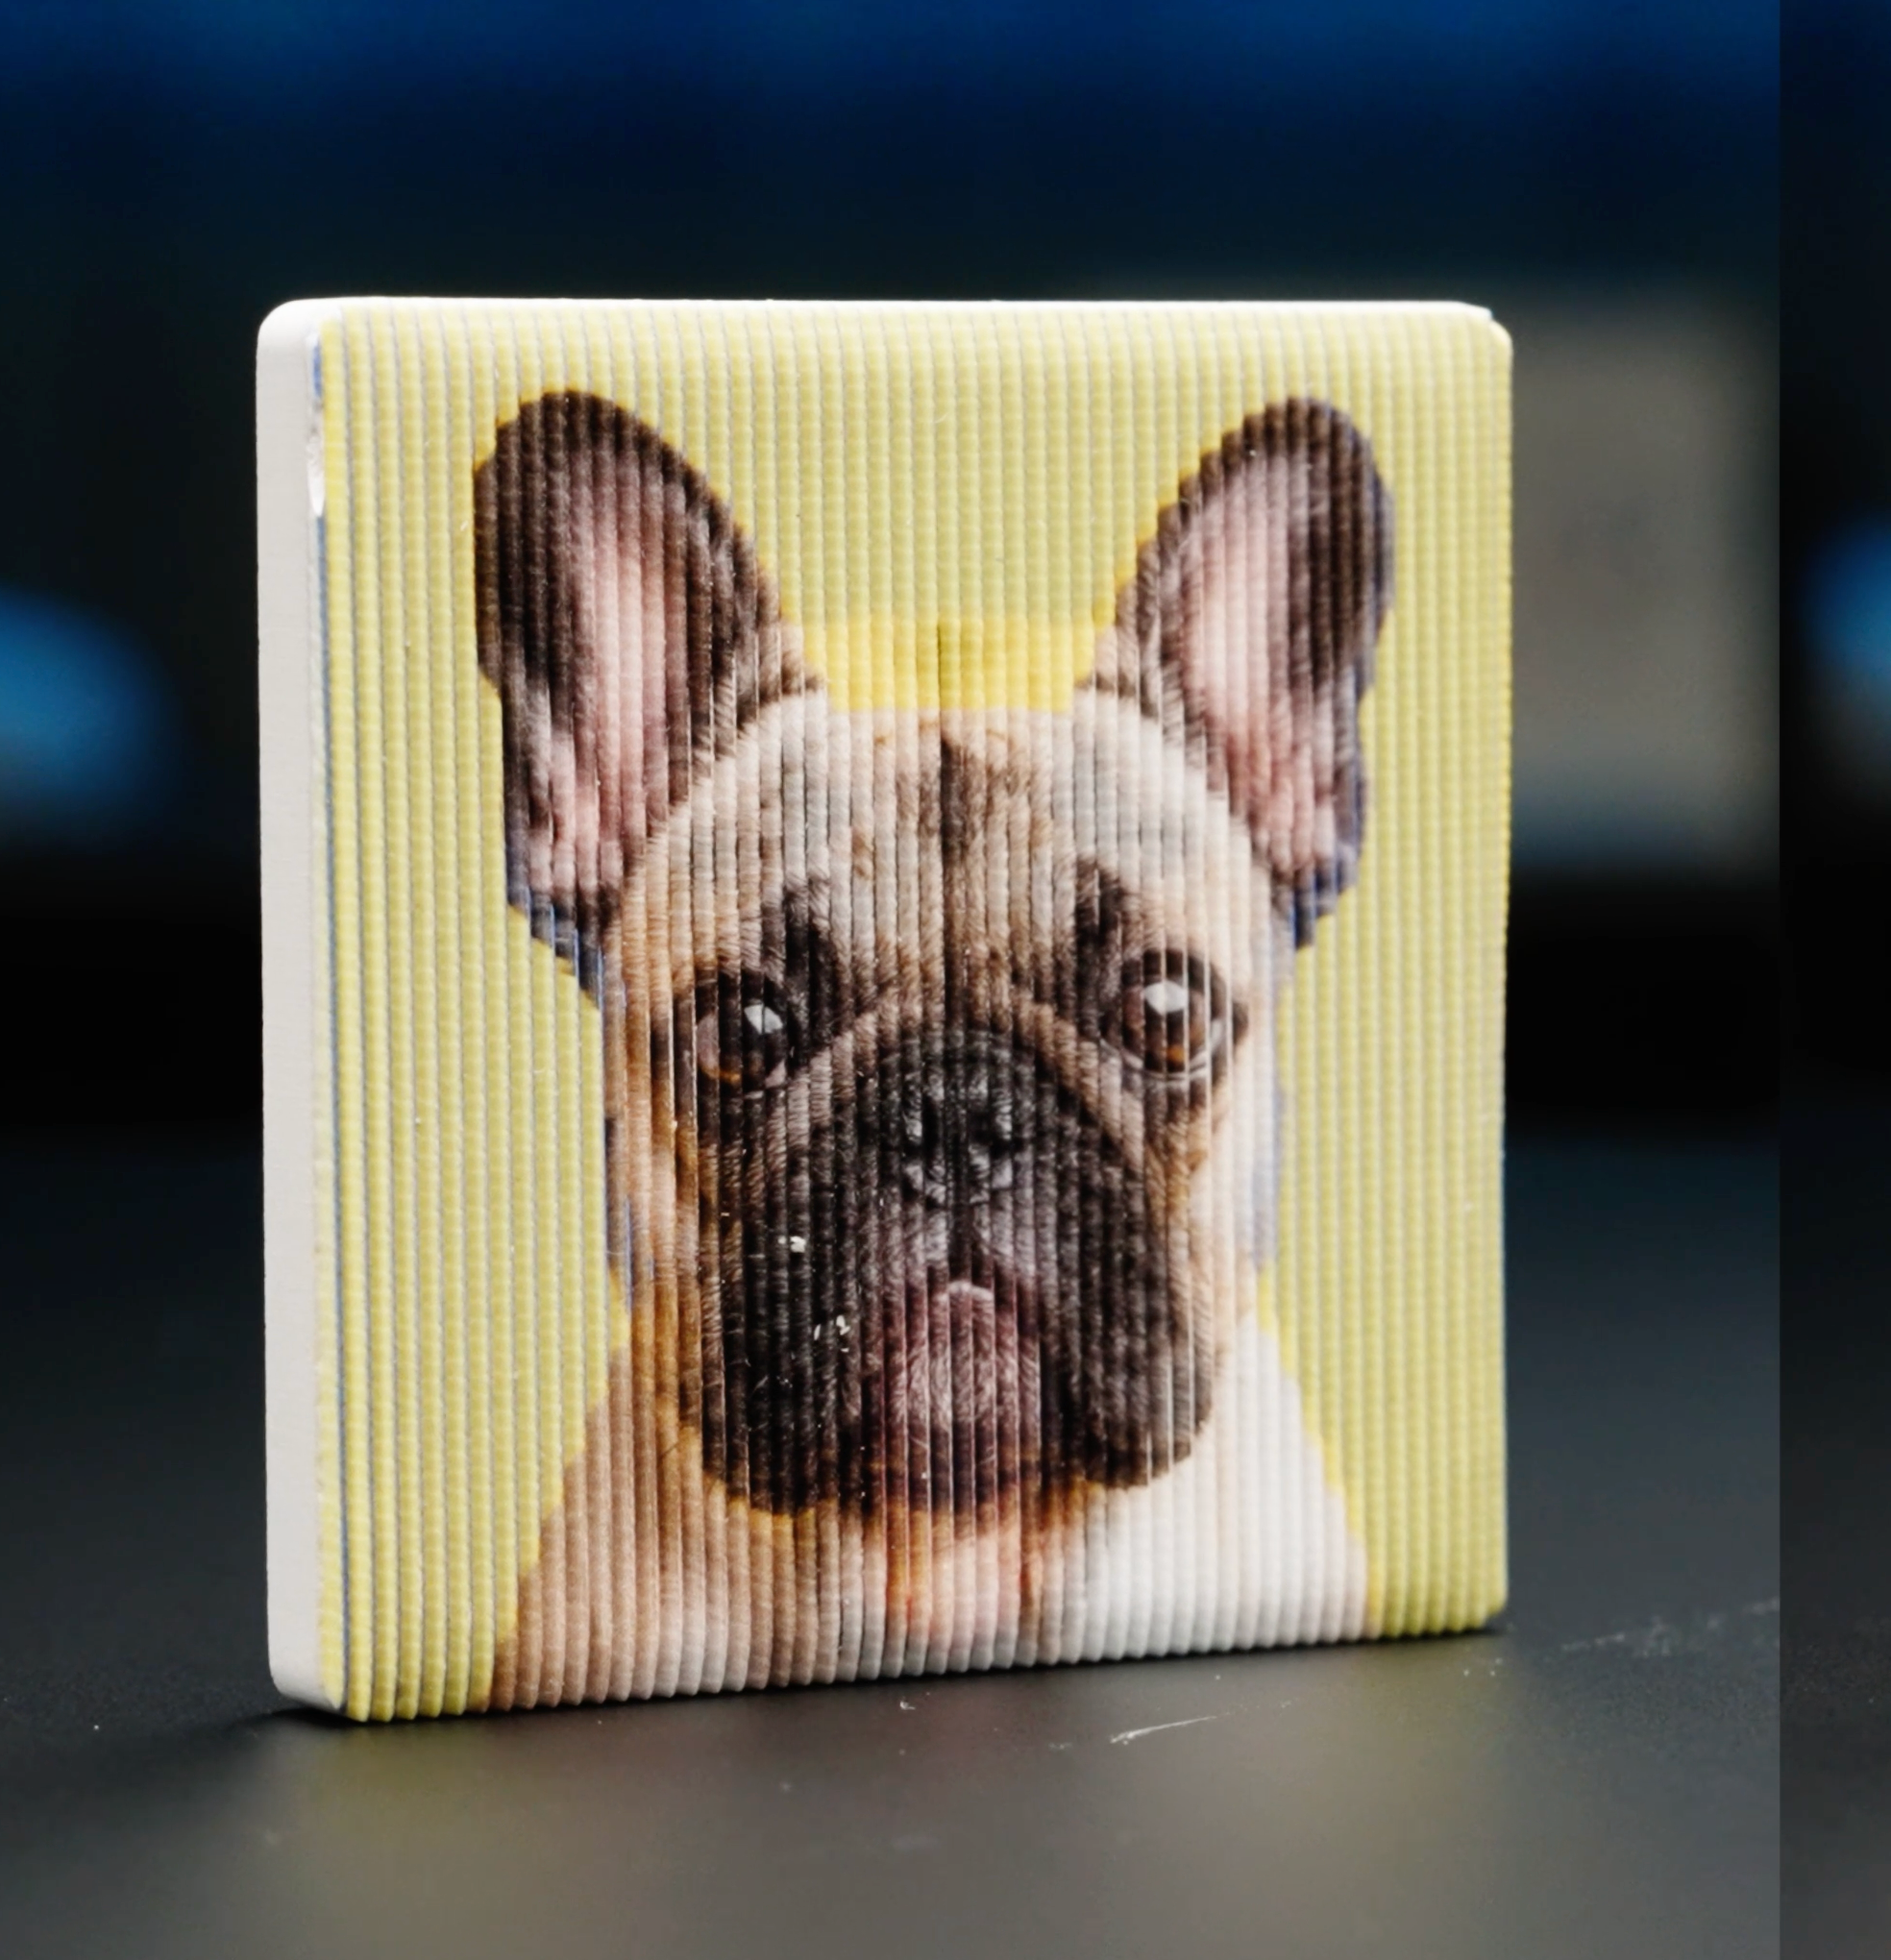
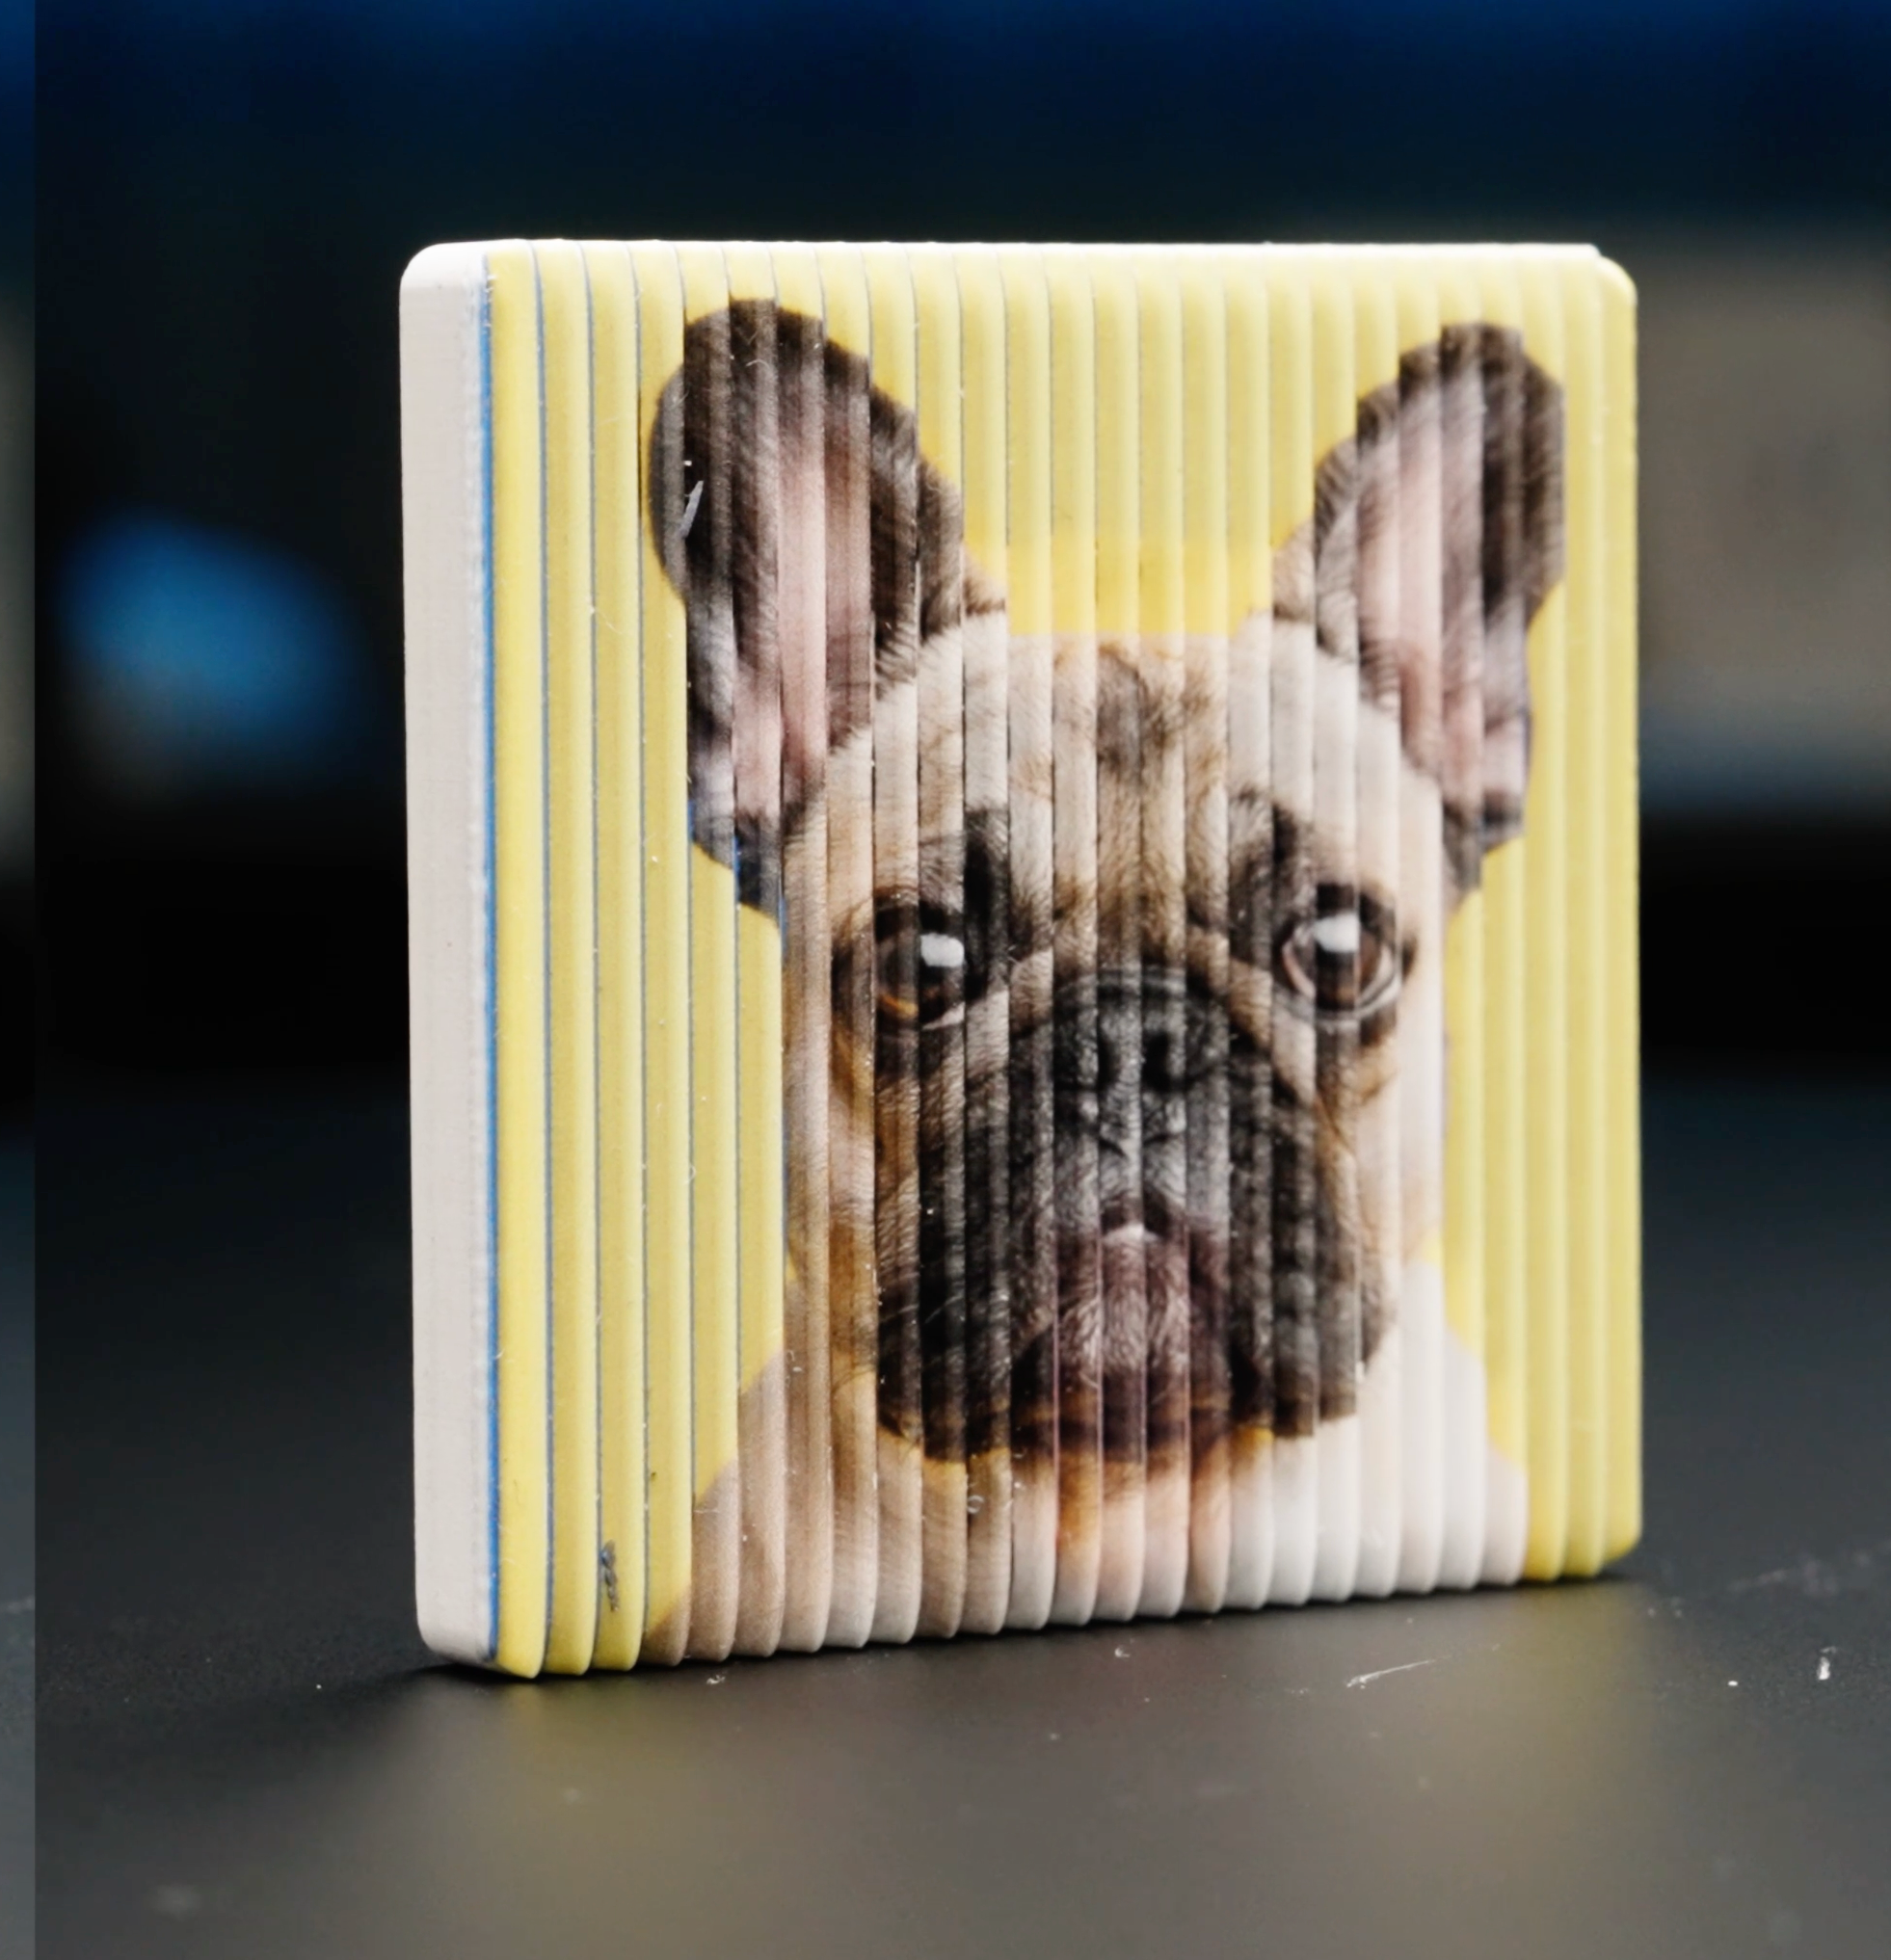
You'll be redirected to eufyMake Studio to print. Follow the printing guide below.
1
Print Alignment Jig
Print the jig on the center of flatbed first - it prints a red border frame for aligning the lenticular sheet.
2
Craft Mode Settings
Import the image into Studio and set:
• Craft Mode: Flat
• Ink Mode: CMYK > White
We've mirrored the image because printing is done on the smooth back side — this way it appears correct when viewed from the front.
3
Align & Print
Keep the stripe direction parallel to the printer's X-axis for best results. Place the lenticular sheet smooth side facing up , align it with the red jig frame. Then start printing.
1
Upload Design
Download the design file and import it into the eufyMake Studio editor canvas.
2
Craft Mode Settings
1. Download the Depth Map and upload it to Craft Mode → Customize Texture.
2. Set Ink Mode to Color Raised (default).
3. Thickness and Depth Map Prism Height must be set to the same value.
3
Align & Print
Keep the stripe direction parallel to the printer's X-axis for best results. Then start printing.
Lower height — less tilt needed to see the full image.
Higher height — stronger 3D effect, but requires more tilt to reveal each frame.
Your download includes two files: • Interlaced Image — your final design to print onto the lenticular sheet. • Alignment Jig — a red border frame. Print this on the flatbed first, then place your lenticular sheet inside the frame for precise alignment.
Prints on the smooth back side, so the image is flipped to look correct from the front.